Last updated on March 24th, 2022 at 10:20 am
Outlook for Mac is a desktop-based application for email that works exactly like MS Outlook but saves its database in the OLM the file type, which is entirely distinct from PST format utilized for MS Outlook. As technology continues to advance as well, users have also changed their storage options for their data and many have started using online applications. Thus, since web-based applications are becoming more popular, Microsoft has developed Office 365 as a cloud-based service to send and receive messages via the Internet.
Recently we’ve received lots of inquiries from users looking for an effective method to transfer Outlook on Mac information to a cloud storage account. Also, for those who are using or possess OLM files and would like to transfer their data to the cloud storage space immediately. Take a look and learn the methods provided below on how to transfer OLM files into your Office 365 account.
Try Manual Solution
The manual approach to the import of OLM in Office 365 is quite complex and takes a lot of effort and energy. Therefore, it is suggested that you create an archive from your OLM files prior to performing this process. This is the complete explanation of the procedure.
The first stage → Setting up an IMAP account in Gmail and configuring it in Outlook for Mac.
First of all, let us know the steps to follow to create an IMAP account within Google’s Gmail application. If you do not have an Gmail account you’ll have to set up one.
- Log into your Gmail account. Then, go to your Settings option.
- When you are on the Settings page, select Forwarding and the POP/IMAP tab. Click on Enable IMAP option in the IMAP Access section.
- Once you have done that, click the Save Changes option and save this setting.
- Now, your IMAP account has been created successfully.
Then, follow the steps below to set up this IMAP account within Outlook on Mac.
- First, start Outlook for Mac application.
- Click the Tools tab and then select Accounts option.
- A new window will appear; click the + sign button to add a new account, the Gmail IMAP account.
- Next, Enter the information for your IMAP account along with user name and password like –
- Incoming server – imap.gmail.com
- Outlook server – smtp.gmail.com
- SSL Connection – Check this option
- After that, click on Add Account option.
In the above steps, the Gmail IMAP account will get configured with Outlook for Mac successfully.
The second stage → Creating Label in a Gmail account for synchronizing Outlook for Mac and IMAP account.
Users need to create a label in Gmail to sync OLM file data and then move it to Users will need to create labels in Gmail to transfer OLM data to the file and then transfer it to an IMAP account. We will walk through this process step-by-step in a simple manner.
- Then, go to your Gmail account and press the gear button;
- In the drop-down menu Click Settings and then click Label.
- Now, you can create a fresh label, by pressing the Create a new label button.
- Then, type in the name and information on the nest label, and then click OK..
- After you click OK The Label will be instantly created.
- Now, you can open the Outlook to Mac application.
- Now, select the Send or Send / option to begin the process of synchronization.
- Make sure that the data has been fully transferred.
Final stage → Configuring Gmail IMAP account in Outlook and then moving to Office 365
This is the last step of this manual procedure to move OLM onto Office 365. All you have to do is set up the IMAP account within Outlook using the Account Settings feature in Outlook by registering an additional IMAP account with Gmail credentials. Once you have your Gmail account is set up with the Outlook software, the entire your data will be saved in Outlook following which you can utilize the drag-drop or copy-paste feature to move all of the information to PST folders.
Later you can import Outlook PST files to Office 365 either via Network upload methodor drive shipping method. These two manual options offered by Microsoft are difficult since they require technical know-how.
As you will see and note at the start of the process above this is an extensive process that requires skilled, careful hands to carry out. Every little mistake could add more complications and result in losing data or even a failed migration. Additionally the manual approach discussed above calls for two operating systems at the same time, which can be challenging. In the worst case scenario the integrity of emails or files could be damaged during the process.
Professional Tool:
We cannot guarantee manual solutions for successful OLM data transfer to We can’t offer manual solutions for the success of OLM data transfer to an Office 365 account because its procedure is complicated and lengthy and even a tiny error could ruin the entire process. We offer an automated method to make the process of transferring data for you to make the transition from Outlook for Mac to the Office 365 platform easy and safe.
OLM to Office 365 Migrator
It’s a fantastic application with robust algorithms that migrate OLM files to an Office 365 account using an easy one-way process. It doesn’t require Outlook or Outlook for Mac and any Outlook application to carry out this procedure. The program can import OLM into Office 365, including the entire folder structure, including Calendars, Contacts and Mails Attachments, and more. It also includes preview features as well as a variety of filter options users can choose to use to break up the data for the migration.
Just follow a few simple steps to import OLM into an Office 365 account with full data security.
1. Download and install OLM to Office 365 migration tool into your system.
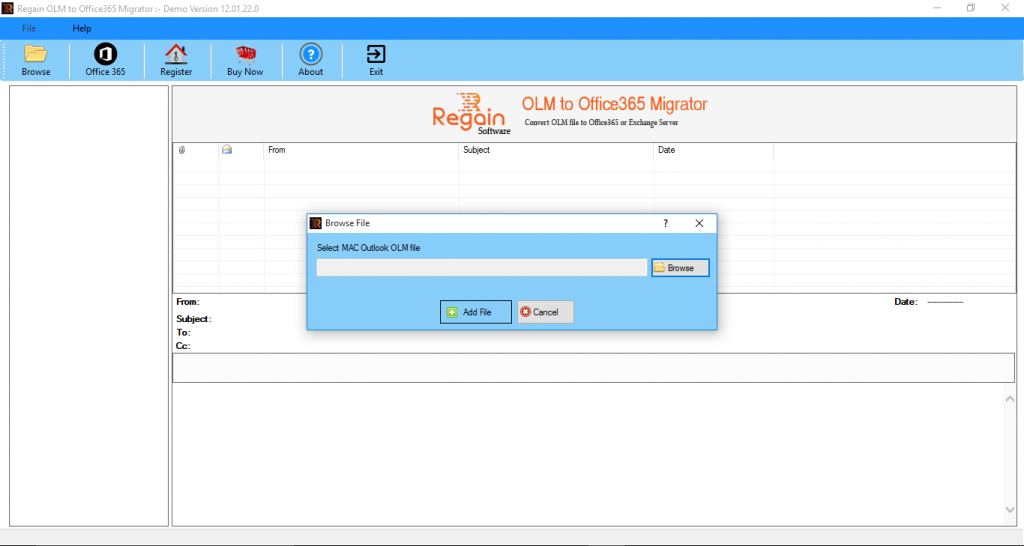
2: If you wish to transfer unlimited .olm files, select the Add File option..
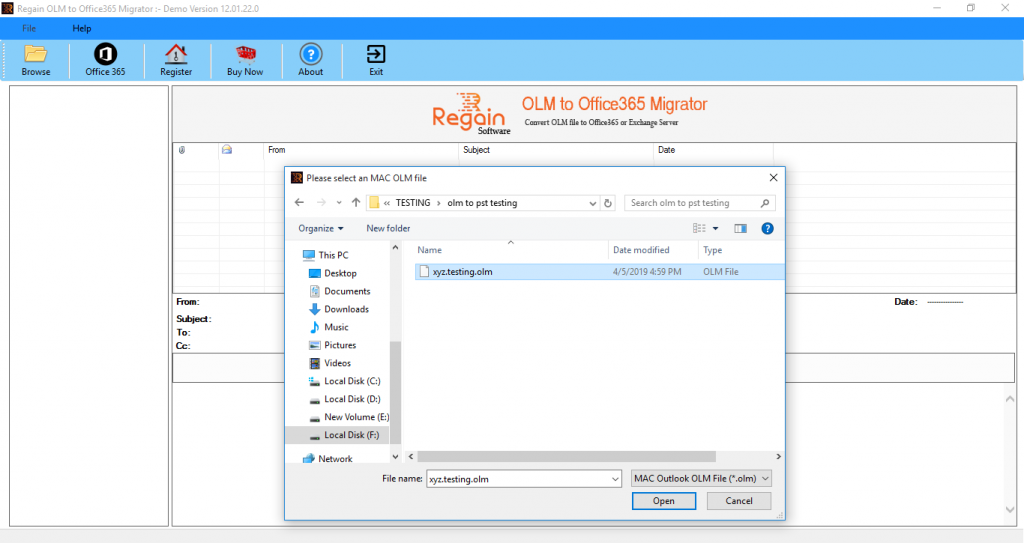
3: Once you have loaded the data file from the file location The program will show the location of your file. Click the next to upload OLM into Office 365.
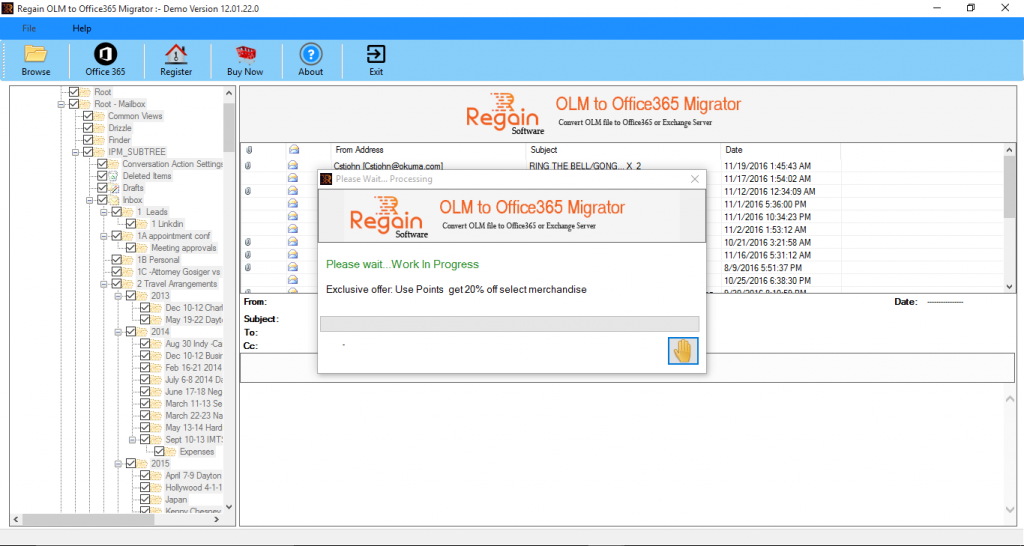
4: It will show all OLM items to be checked, then look up the folders to transfer to .olm into MS Office 365, and select next.
5: Pick Office 365 from two options as illustrated in the screenshot below.
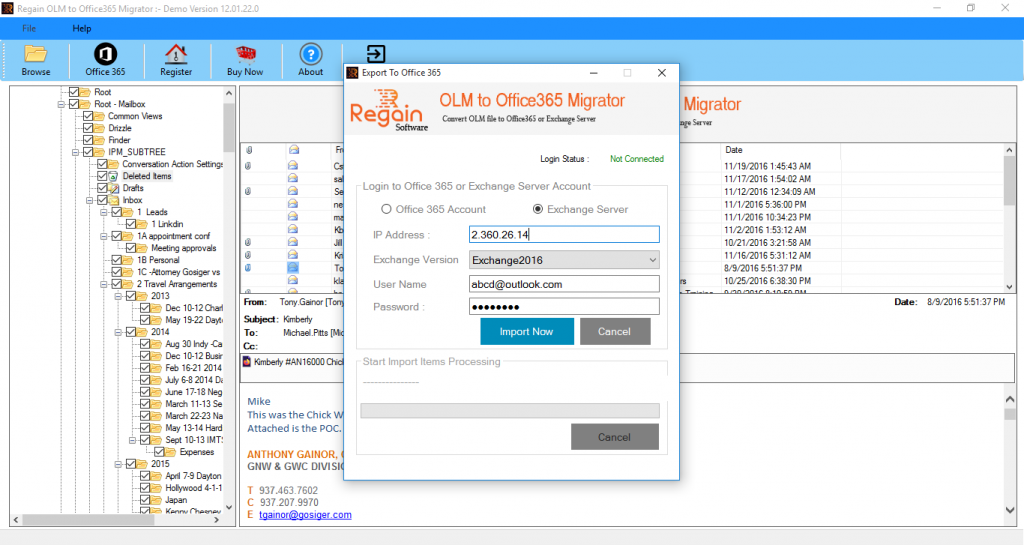
6: Enter the Office 365 credentials in the window of the application. Select Next to continue. nextbutton to proceed.
7: OLM files to Office 365 migration process will started now.
8: As soon as the migration process is complete, the OLM to Office 365 migration tool will automatically open the desired folder in which you will receive your resulting data freely.
If you follow each instructions, you will be able to effortlessly transfer all your email data and other information in Outlook to Mac onto your Office 365 account without losing any information.


